Introduction
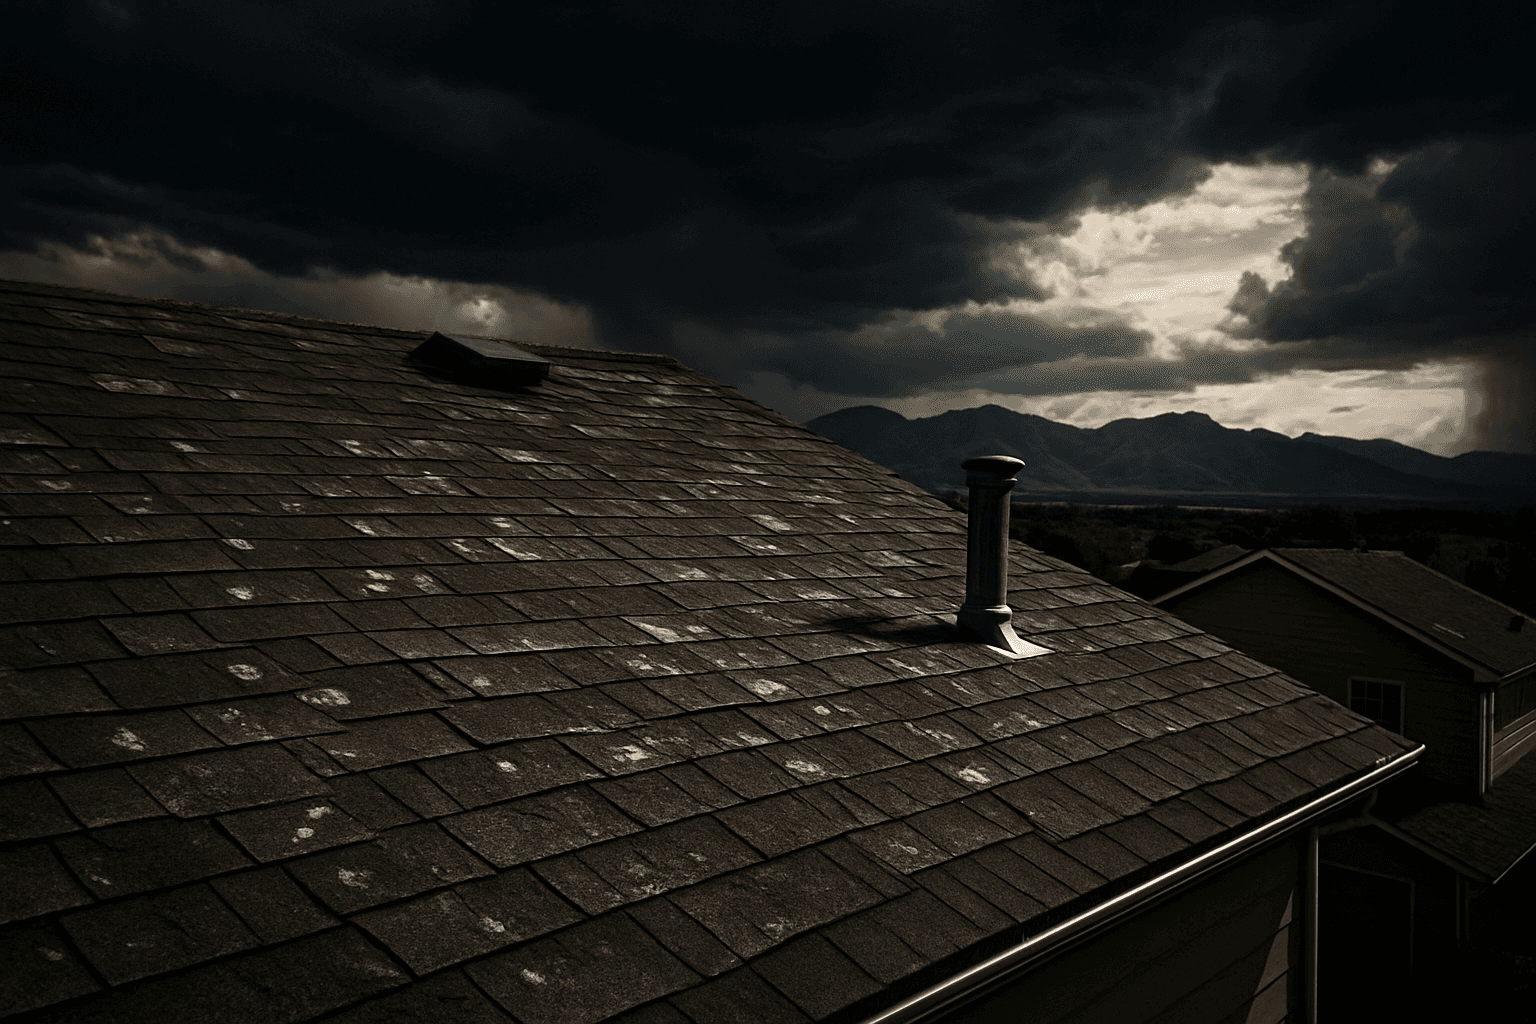
As Colorado homeowners know all too well, hailstorms are a common and often destructive occurrence, especially during the spring and summer months. In fact, the state ranks among the top in the nation for hail damage incidents, with thousands of reports each year. The recent storms have left many homeowners wondering how to properly conduct a roof hail damage inspection to assess potential impacts. This guide will provide you with detailed, step-by-step instructions to safely inspect your roof, ensuring that you can take appropriate action if damage is found.
Understanding Hail Damage
Before diving into the inspection process, it’s crucial to understand what constitutes roof hail damage. Hail can vary in size from tiny pellets to golf balls, and the severity of damage can differ based on several factors, including:
- Hail Size: Larger hailstones can cause more significant damage, such as dents, cracks, or even punctures in roofing materials.
- Wind Speed: High winds can exacerbate hail damage, as they can drive hail at a more aggressive angle against your roof.
- Roof Age and Material: Older roofs or those made from less durable materials may be more susceptible to damage. For instance, asphalt shingles can crack easily, while metal roofs may show dents but can often withstand severe impacts better.
Understanding these factors can help you gauge the potential extent of damage when performing your roof hail damage inspection.
Safety First: Preparing for Your Inspection
Safety should always be your top priority when inspecting your roof. Here are some essential safety tips to keep in mind:
- Use Proper Gear: Wear a hard hat, gloves, and non-slip shoes to protect yourself while on the roof.
- Check Weather Conditions: Ensure that the weather is clear before climbing onto your roof. Wet or windy conditions can increase the risk of accidents.
- Use a Stable Ladder: Make sure your ladder is stable and placed on even ground. Consider having someone hold the base of the ladder while you climb.
- Avoid Climbing on Slippery Surfaces: If your roof is wet or slick, wait for it to dry before conducting your inspection.
Once you are adequately prepared and have taken the necessary safety precautions, you can begin your roof hail damage inspection.
Conducting Your Roof Hail Damage Inspection
Here’s a detailed step-by-step process for performing a thorough roof hail damage inspection:
1. Visual Inspection from the Ground
Start by inspecting your roof from the ground using binoculars. Look for the following signs of hail damage:
- Missing or Cracked Shingles: Check for any shingles that appear to be missing or have visible cracks.
- Dents or Dings: Look for dents in visible areas of your roof or on your gutters and downspouts, which can indicate hail impact.
- Granule Loss: If you notice a significant amount of granules in your gutters, this could be a sign of hail damage to your shingles.
2. Climbing onto the Roof
If your visual inspection from the ground indicates potential damage, it’s time to get on the roof. Here’s what to do:
- Check for Dents: Look for dents in metal roofing or gutters. For asphalt shingles, check for cracks or bruises that may not have been visible from the ground.
- Inspect Flashings and Vents: Examine the areas around chimneys, vents, and skylights for any signs of damage, as these are critical points where leaks may occur.
- Document Your Findings: Take photos of any areas of concern for insurance purposes. This documentation can be valuable when filing a claim.
3. Evaluate Interior Damage
After inspecting the exterior, it’s wise to check the interior of your home for signs of roof damage. Look for:
- Water Stains: Check ceilings and walls for any water stains, which could indicate leaks.
- Mold or Mildew: Inspect for any signs of mold, which can develop if water has infiltrated your home.
- Musty Odors: Unpleasant odors can also be indicative of hidden water damage.
When to Call a Professional
While homeowners can conduct a basic roof hail damage inspection, it’s important to know when to call in the experts. If you notice any significant damage, such as missing shingles, extensive dents, or leaks, it’s advisable to contact a professional roofing contractor. They have the expertise and tools to assess the damage accurately and recommend the best course of action.
In Colorado, especially in areas prone to severe weather, having a trusted roofing contractor on speed dial can save you time and stress when managing post-storm inspections.
Conclusion
Conducting a roof hail damage inspection after a storm can be crucial to protecting your home and ensuring that any necessary repairs are addressed promptly. By following these steps and prioritizing safety, you can effectively evaluate the condition of your roof and keep your home secure.
If you need assistance or want to see how we manage our inspections and operations at Alpine Peak Roofing, visit alpinepeakroofing.com for more information and resources.